One of my family’s favorite meals is meatloaf with homemade macaroni-and-cheese. The recipe below will make two loaves, so when it’s just our family I save half of the mixture in the freezer for a future date. Soon, it will take two just to feed the family though.
For the Tuesday night group it takes four or five so once again, the pictures are out of sync with the recipe - sorry.
Basic Meat Loaf (2 loaves)
2 eggs2 cups milk
6 slices of bread
2 TBSP Worcestershire sauce
2 tsp salt
¼ cup of dry minced onion (or fresh –see upgrade option)
1 tsp garlic powder
1 tsp dry mustard
½ tsp rubbed sage
½ tsp pepper
2 lbs lean ground beef
1 lb turkey sausage (any flavor will do)
Topping: ½ cup chili sauce (or ketchup with some chili powder & pepper)
Upgrade Option: If you have an audience that doesn’t mind chunks of vegetables in their meat, then finely chopped onion, shredded carrots, and/or bell peppers all add some interest. My crowd seems to like the plain meatloaf best.
Start by skimming just the crusts off of the bread with a serrated bread knife. (Chunks of crust are unappetizing in meat).

Then cut the bread into cubes.

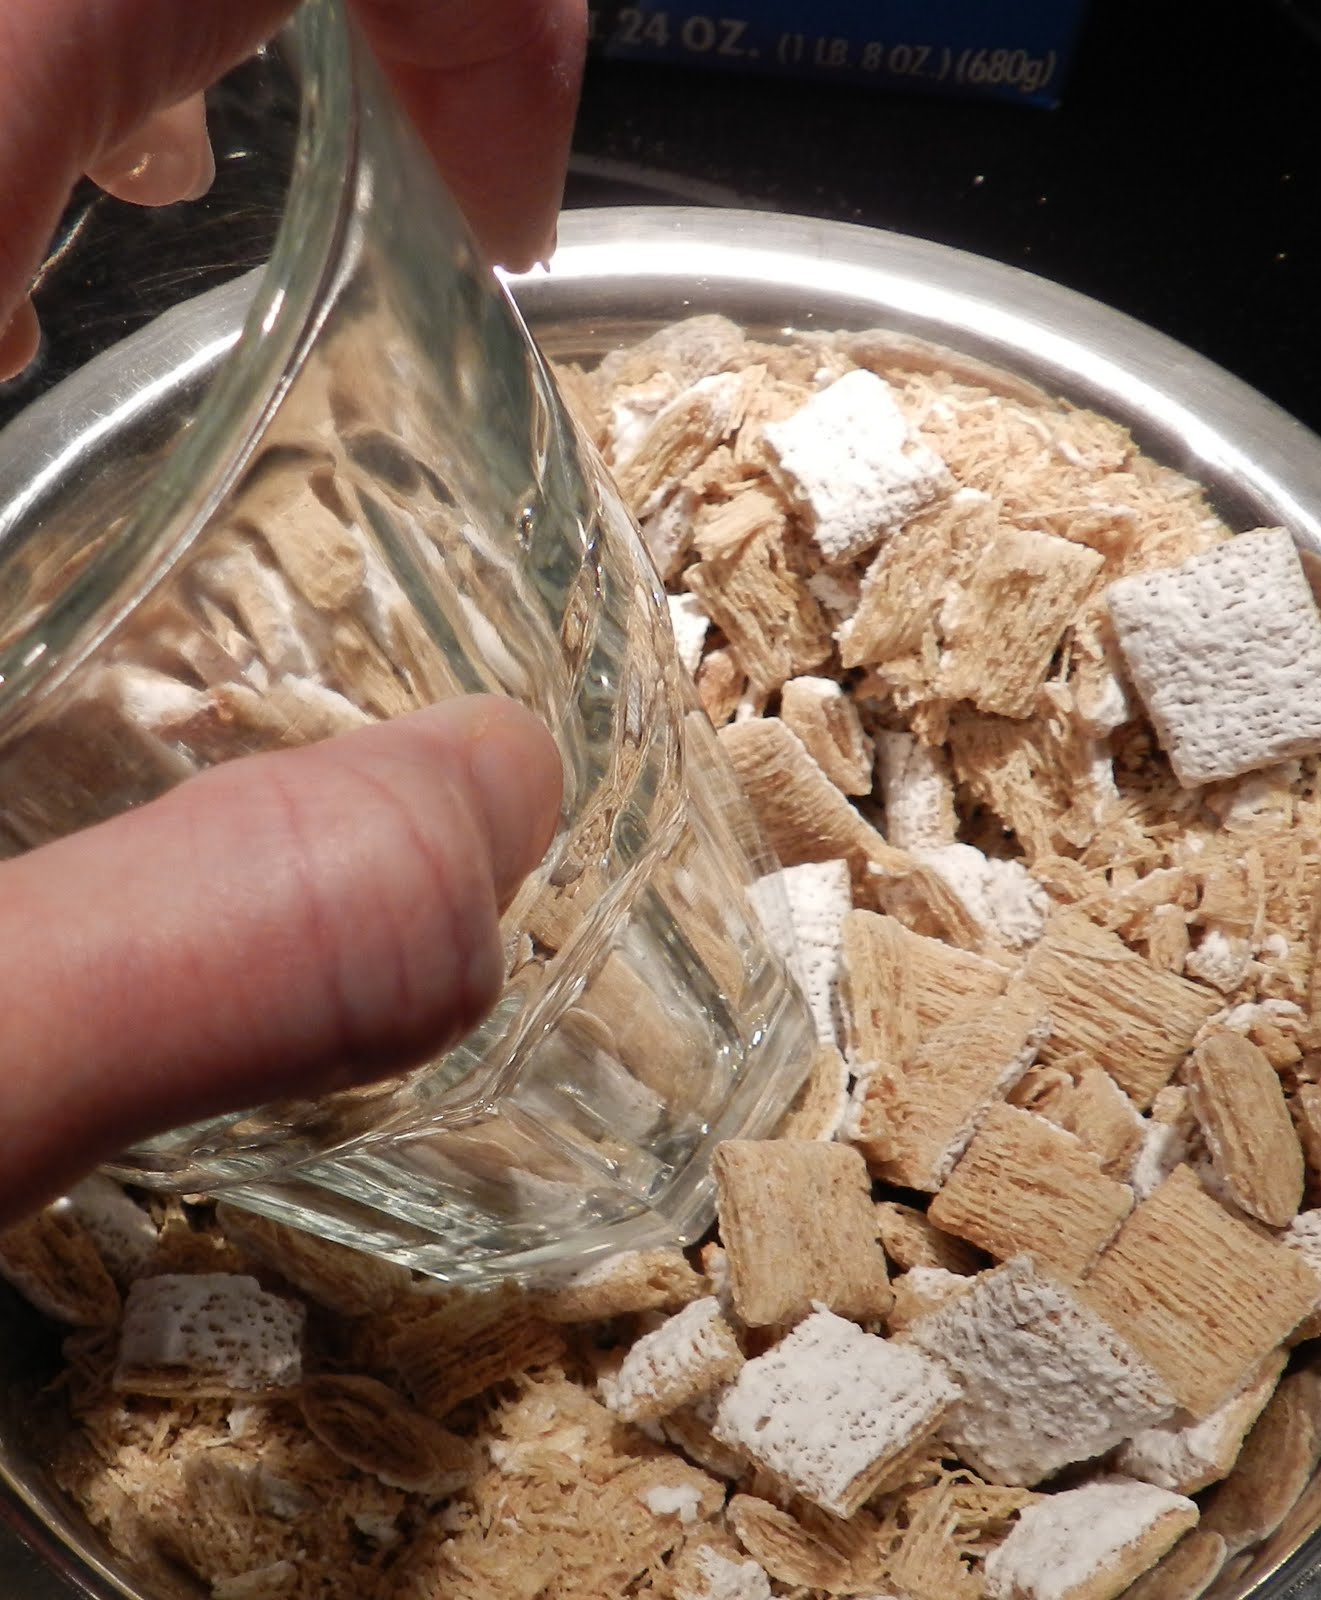
Put all of the bread into a nice big bowl and add the milk and eggs.


The bread needs to steep for 10-15 minutes in the milk and eggs, with only an occasional stir but you can add all of the other ingredients except the meat while it's sitting.

When the bread is nice and soggy, use a mixer or a whisk to turn the glup into a smooth “goop”. Not the most appetizing procedure, but it keeps the finished meatloaf from being strewn with bits of gooey bread.

If the turkey sausage comes in casings, it has to be cut out of them. Fun! (not)

Toss the turkey into the goop.

Mix. If it wasn’t such a big batch, Darth Mixer would be doing this – and then getting a bath in anti-bacterial spray. Unfortunately, Darth doesn’t have a bowl big enough for feeding twenty-five and the next best option is to use your hands. I can’t stand raw meat, or anything else except garden dirt, under my fingernails, so I wear gloves. Eventually your hands are so cold that they go numb and you can’t feel much of the squish anymore.

Then, add the beef.

Mix thoroughly. (Note: This is the point where you put half of the mixture into a heavy zip-lock bag and stick it in the freezer if you want a loaf for another day. When you’re ready to use it, just thaw and proceed with the rest of the directions below.)

Divide the gunk into loaf pans.

Top with the chili sauce. In a pinch induced by poor planning, one can add a teaspoon or two of chili powder and some black pepper to regular ketchup and it’s just about as good.


Put the uncovered loaves into a 350 degree oven and then clean every surface in the kitchen that could have possibly been mucked up by meat germs.
After about 45 minutes pull each loaf out, drain the liquid from the pan and return it to the oven. (Obviously - Be VERY careful!) I use a spatula to hold the meat steady and tip as far as I can without dumping the meat into the sink.

Do the same thing again about 15 minutes later. This is a critical step in getting meatloaf that is actually shaped like a loaf, has a bit of a “crust” and isn’t soggy.
Leave the the loaves in the oven until the internal temperature is hot enough for the turkey to be cooked – 180 degrees. It should take about 1 hour and 15 minutes for two loaves.
Let me add a plug for a good meat thermometer here. An adolescent episode of misery from improperly cooked chicken caused me to overcook poultry for years. When I finally got a meat thermometer that I trusted, results improved dramatically. Mine tells me the right temperature for each kind of meat and has a cord that lets the probe stay in while the oven door is closed. Love it. No more shoe leather for dinner.
 |
| Almost there. |
Finally, let the finished loaves rest for about 10 minutes before slicing. Serve with ketchup….and macaroni-and-cheese, and green beans and rolls…and desert. Yum!
 |
| Oops...crumbles. Food staging requires more attention to detail than I have sometimes. |
I ran out of camera snapping stamina when it came to the mac-n-cheese, so that will have to be a future post, but let me just ask, does this ever happen to anyone else?

Three open packages of elbow noodles in the same cabinet? How? Why?
I guess maybe it’s like what happens to socks in the dryer.