Hi Everyone,
My kitchen is packed for the move to New York and I am pretty well moved into my new blog as well. If you haven't already found it, please go to TheKitchenCatwalk.com . I have also launched a companion blog on our crazy nomadic life that you can visit from there. It contains my farewell to Pullman. You can reach it by clicking the Nomad-Libs tab at the top of the Kitchen Catwalk blog or by going to www.nomadlibs.com .
Joy to You,
Lisa
Tuesday, June 7, 2011
Friday, May 27, 2011
Spinach Quiche - And Moving.
Our family loves quiche! Eggs, cheese, flavorful ingredients and pie crust. Yum.


If you'd like to see how this one was made, you are cordially invited to visit my new location thekitchencatwalk.com .
I've discovered that I really like blogging. If I'd know how much I would like it before I started I would have done some more research on how to set one up but as it was, I just went with the first thing that popped up on Google. Now, I've hit on a much easier way to handle cooking posts with lots of photos, so before I get too settled in here, I'm going to go ahead and make the move. I've steadily been copying posts over there, so it's almost exactly the same content - until now. I hope you don't mind following along.
(Not only is the blog moving, but so is my family - in case you were confused. I'll keep you posted on that move too as it progresses.)
I plan to put notifications of new posts on here for a while until everyone has had a chance to re-map to the new site. Things aren't perfect there yet, but everything is a journey it seems, and I'd love to hear what you think.
Thanks for checking in!
Lisa
Wednesday, May 18, 2011
Chicken and Corn Enchi-Sagna

When we’re getting ready to move I start to operate under a self-imposed grocery buying moratorium and use up what’s in the cabinets. The creativity that emerges usually doesn’t result in anyone saying, “Ooooh, make sure you write this one down!” but a few nights ago we hit on a keeper – a cross between enchiladas and lasagna.
I had a handful of rotisserie chicken in the fridge and Mr. Nobody left the bag of tortillas unsealed, so they weren’t supple enough for most ordinary applications. I also happened to have enough diced canned tomatoes to feed a small army, and corn enough for a platoon. All of this coupled with the vague recollection of a recipe in one of my Cooking Light cookbooks sparked an idea.

I chopped the onion finely, and sautéed it with minced garlic (out of a jar) in about a TBSP of olive oil.


I cut the tortillas into strips that would act like lasagna noodles. (Note that spelling and see my rant below!) I also cut a few slices of pepper jack cheese into thin strips and dug out a handful of shredded cheddar.

By that time the garlic and onion were heated through and softened. I added the shredded chicken and stirred periodically until it was hot.

Then I dumped in well drained cans of corn and diced tomatoes.


One and a half cups of chicken broth combined with about half of that can of spicy El Pato salsa made the sauce that would be poured hot over the top of all the layers. I put it on the back burner on medium heat while I finished working on the rest of the dish.


Half of the tortilla strips went down in a disorganized layer.

Then I dumped half of the corn, tomato and chicken mixture in and spread it around.

Then half of the pepper jack cheese on top of that.

The rest of the tortilla strips were followed by the rest of the chicken mixture.

The sauce was poured over the top.

Cheddar cheese got sprinkled on last.

It was baked in a 450 degree oven for about 15 minutes until the tortillas were golden brown at the edges and the cheese was thoroughly melted.

We served it with a dollop of sour cream and garnished it with surprised smiles – cabinet cleaning wasn’t so bad this time! In fact, it was good!
Okay, done with the food….now, back to that spelling issue! Did you notice how noodle is spelled with an “l-e” at the end, yet pretzel and tassel are spelled with “e-l”? Admittedly, I stink at spelling but that sort of thing makes me want a refund on my native tongue! If English was run by Adobe, Apple or Microsoft there would have been an update by now!
BUT, Since it's up to me...here’s my new rule to remember this:
“L” before “e” in
Noodle, Poodle and Puddle
Cause me no fuddle,
While “e” before “l” in
Pretzel and tassel
Cause me great hass-l-e!
P.S. You will be relieved to hear that I just bought a book on how to take pictures of food. If there is any honesty in the dust-jacket description, then eventually the photos will improve.
Friday, May 13, 2011
Graduation Cupcake Post Got Buried

The Blogger website has been having problems the last few days, and for some reason my new post on cupcakes showed up under the one before it. So, if you'd like to see the one about cupcakes, it is under the Lessons in Red Velvet post. You can either scroll down or go to...
http://kitchencatwalk.blogspot.com/2011/05/graduation-cap-cupcakes.html
Thanks!
Lisa
Lessons in Red Velvet

I know that we learn from our mistakes, but over the years I have decided that I am not a fan of this approach, which is why I read trustworthy cookbooks and put into practice what I pick up. This is also a big reason why I study the Bible. I’d rather not have to learn the hard way that God had a good reason for what He said to do.
Of course, in spite of the best guidance, I occasionally think I have better ideas, like with red velvet.

The foundation for this lesson started on Good Friday when I procrastinated about buying a cake mix (my usual approach to cake baking) and couldn’t find a red velvet mix in Pullman. A bunch of students were coming over after the Good Friday service to watch The Passion – and have dessert. I had racked my brain for what kind of desert might go with such a gut-wrenching movie and come up with a plan to make a cake that illustrated Isaiah 1:18. There was no time at the local IGA to think of a plan B. Thankfully, I had been ogling the Pioneer Woman blog and happened to remember that she had recently posted a red velvet cake. (See it here.) It was beautiful and I had looked pretty closely at the ingredients so I grabbed buttermilk and red food coloring and trotted home.
The cake turned out nicely – until I hurriedly tried covering over red crumbs with cream cheese frosting that was too thick for the job. It turns out that hiding crimson with white is harder than it looks in cakes, not to mention the cosmos. Anyway, there were crumbs of red embedded in the frosting, but the point was made, maybe even accentuated. Here are a few shots of that cake.


The real trouble with red velvet began when I watched a re-run episode of Bobby Flay’s Throwdown a couple of days before I needed to make red velvet cupcakes AGAIN for our graduation open house. (Note: If you missed my prior plug for that show, please check out the post on pulled pork (here), which got buried under the ones full of Victorian tea photos. I’m still looking for someone who can explain the Zans!) In the episode we watched, a woman who owns a bakery made red velvet cupcakes, and she talked about how you shouldn’t use butter in cupcakes because it makes them dry. She believes in using oil. That got me thinking about the Pioneer Woman cake I had recently made, which called for shortening. I wondered if perhaps that perfectly delicious cake might have been too firm to be parlayed into scrumptious cupcakes. Meanwhile, Bobby Flay, used butter in his cupcakes and won, but I was already well down the destructive path of second guessing sound wisdom. Oil, butter, shortening – conflicting expertise – what a dilemma!
My solution – when the experts can’t agree appoint yourself as one. In my visions of blogging grandeur, I even took a picture of myself writing my own hybrid recipe from the two mentioned above. Stupid! I have studied cookies to the point that I can alter recipes with predictable results, but I have no business trying it with cake recipes, when my usual method involves pictures of eggs and oven dials on the back of a box.

This photo is now quite embarrassing!
But, we will never know exactly how this recipe might have turned out, because I failed to even follow my own plan correctly. Here’s how it happened.
Holly and Megan came over to bake with me, which was great fun.
I guess I was distracted with the novelty of a sifter being operated in my kitchen as Holly was measuring the flour and I told her the wrong amount. (It matters how much flour you put in cake, by the way.)


The batter tasted great, but I kept looking through the oven glass at cupcakes that weren’t rising and wondering why it was taking so long. Finally I pulled them out in a fit of aggravation and found that the bottoms were burned. WHAT!?
Worse yet, they tasted burned.

What you cannot see in this trash can is the chunk of my ego buried under the pile.
I called Ric who was already leaving the grocery store after shopping for other graduation party supplies and asked him (in a very miserable voice) to go back in and shake the place down for a red velvet cake mix. He felt so sorry for me that he bought me these flowers to make me feel better.

Maybe I should have baking mishaps more often!
He may have also been feeling bad about breaking the news that he did not find a mix. Instead, he found more red food coloring. Oh, yippee - a chance to redeem myself.
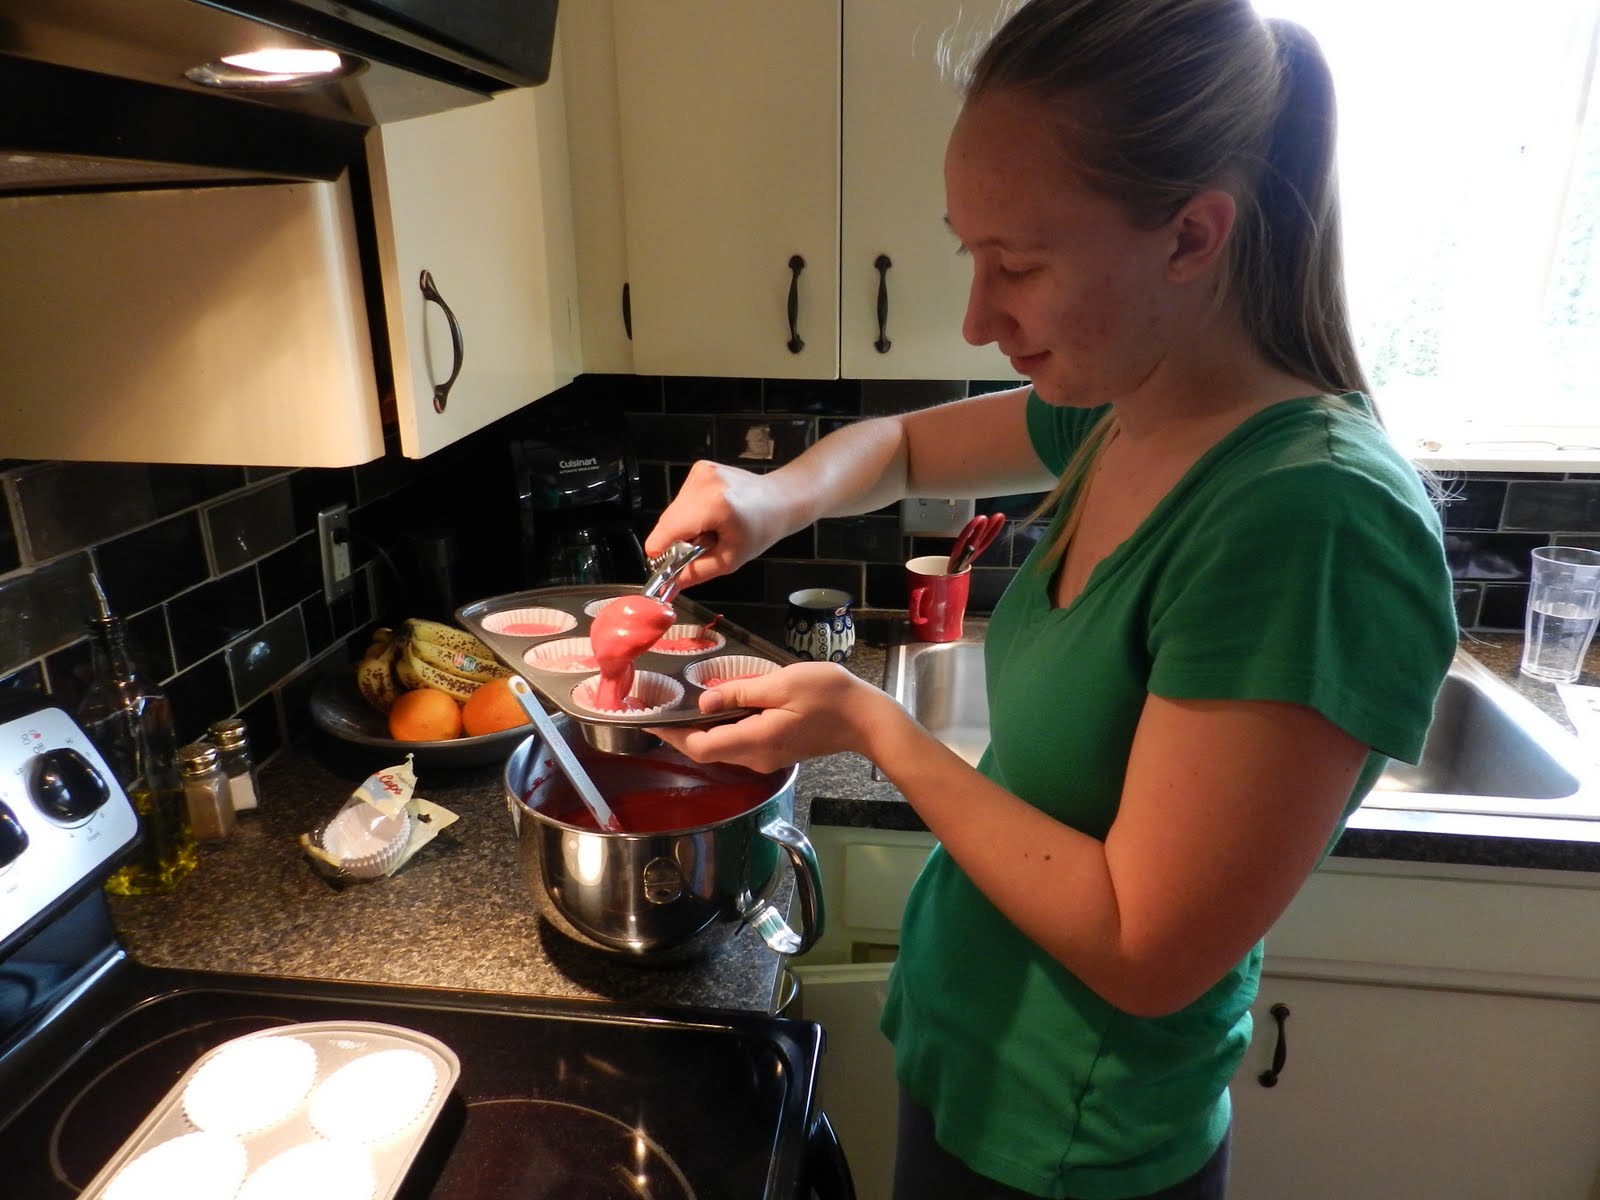
For the next batch I humbly followed the Bobby Flay Throw Down recipe exactly – almost. You can find it online here. The only exception was that I mixed the cocoa and the red food coloring like The Pioneer Woman recipe because it’s much prettier to dump red coloring into white batter. You get a picture like this….

Instead of like this…

…which is how it looks if the cocoa is added in with the dry ingredients. If I wasn’t blogging, I wouldn’t care, but now you’ve gotten to see some pretty red swirls. If you really want to see pretty red batter photography, check out the Red Velvet Sheet Cake on Ree’s Blog.
Both recipes made delicious cake – much better than I’ve ever gotten from a mix. So, the wheels are turning in my brain on this whole cake thing. I will conquer this process!
In the end, the lessons learned were profound. Follow directions when you’re not an expert and be careful about measurements.
Next Post: the graduation cap cupcakes that all of this trouble went into producing. Here's a sneak peek.

Graduation Cap Cupcakes
For the last three years we’ve coordinated the university ministry for our church and when it’s graduation time we have an open house with cupcakes for our grads. Washington State’s colors are “Crimson and Gray” so red velvet cake with gray cream cheese frosting works beautifully. The caps are made of little cookies with frosting tassels perched on a dolop of black frosting.
Notice how I’ve managed to work cookies into a cupcake design! Here’s how they’re made:
1 cup all-purpose flour
½ tsp salt½ cup butter (cold – straight from the fridge)
½ cup sugar
1 tsp vanilla extract
1 tsp Wilton food coloring in your choice of color
About 1 TBSP water
Cut the butter into cubes and drop them into the food processor with the flour and pinch of salt.

Process into crumbles then add the sugar.

Separate the yolk from the white and drop it in. I do this by cracking the shell in half and plopping the yolk back and forth between the two shells until all of the white has dropped away. If some of it is clinging I kind of use the other shell to cut it away. I think this saves me a whole $2.00 splurge on an egg separator.


Add the vanilla.

Process again. It will get to a crumbly state like this. Then you can add the food coloring.

It will still be crumbly.

Add water a few drops at a time through the food processor’s feed tube until you get a ball of dough like this.

Divide the dough into four parts.

Flatten each piece into a pancake with your hands on an oversized piece of parchment paper.

Stack the "pancakes" and refrigerate them for an hour or two.


While you’re waiting, it’s a good idea to get the food processor cleaned up unless you want to see the stains from that food coloring for weeks to come. By the way, my food processor’s name “Princess P.” The P stands for what it can do: process, pulverize, pulse, puree. And, for how it sounds: it purrs. And, for Priscilla – because that also starts with P.
Okay, back to the dough. Usually by the time I pull the dough out of the fridge, I’ve overshot the target by a little and I need to actually let it warm back up slightly. When it is firm but pliable, place each pancake under a second piece of parchment paper. (So many P-s!) Then roll the dough to about 1/8 inch thickness between the sheets. (I now have a nice wooden rolling pin, thanks to my Uncle Pete’s suggestion, but it’s not getting anywhere near this much food coloring!)

Peel away the top paper.

Use a pizza cutter to form a grid of one-inch squares for the caps, with smaller lines of buffer dough between each row of caps. The buffer will be peeled away from between them and the caps will not leave their place on the parchment paper until after they have been baked. With cookies this thin, it is almost impossible to move them without mutilating their shapes.


Lift and peel the dough from between the cookies.


Poke little steam holes into the center of each cookie to avoid puffing. (I don’t know how critical this is but Julia Child says to do it with dough like this, so I do.)

Place the sheets of parchment onto a baking sheet and bake at 400 degrees for about 8 minutes.

Remove them on their paper to cool on a rack.

Once they are cool, use your clean fingers to rub off the inevitable crumbs that will be stuck around the edges. Set them aside to wait while you go on to the cupcakes. The cupcakes can be any kind you want to make. If you want to hear about the escapades involved in makinng mine, go to…. Lessons in Red Velvet.
For this post we’ll go on to the dreamy cream-y cheese frosting.

2 boxes of cream cheese (at room temperature)
2 sticks of butter (at room temperature)1 (2lb) bag of powdered sugar
Gel Food coloring
Drop the cream cheese and butter into the mixer and cream them


Add the powdered sugar. I don’t sift the sugar for frosting and the only time I’ve ever had trouble was when I used a cheap generic package. I also don’t add the sugar gradually…big surprise for those of you who’ve read my cookie recipes, I’m sure. Then, mix until it’s nice and creamy like this.

Pull out two small portions – one for the tassel color and one for the base of the caps.

Color the remaining frosting to the main color you’ve chosen. I made gray by adding a small amount of black Wilton gel food coloring. Gel food coloring is critical for frosting because it doesn’t mess with the consistency like liquid.


Don’t forget to color the other bowls of frosting. I use a table knife to get the color out of those tiny jars and then just use it to mix.


The final colors....Go Cougs!!

I pipe the frosting onto the cupcakes with a large frosting tip. I am only a perfectionist when I want to be and with frosting - I don’t want to be. As long as I come out with kind of cute layer on the cupcakes some way or another I’m happy.


Next I put on the base of the cap with a pastry bag that just has the tip cut off. Sandy and Susie taught me this tip-less trick while we were working on the Victorian Tea together. You get the cutest little dollops.


Press the cookies into place.

Then put the tassel-colored frosting into a piping bag with a fine line tip and make the top part of the tassel. (I am learning how to spell t-a-s-s-e-l by the way! Word is faithfully correcting me from "tassle". I wish it would do so automatically and let me live in ignorance though.)

Then switch to a little frilly tip for the bottom part of the t-a-s-s-e-l.


Keep a toothpick handy to help cut off the end of each one if needed because it goes through open space from the cookie to touch down on the cupcake and it can be hard to lift the tip away without pulling the t-a-s-s-e-l away too.

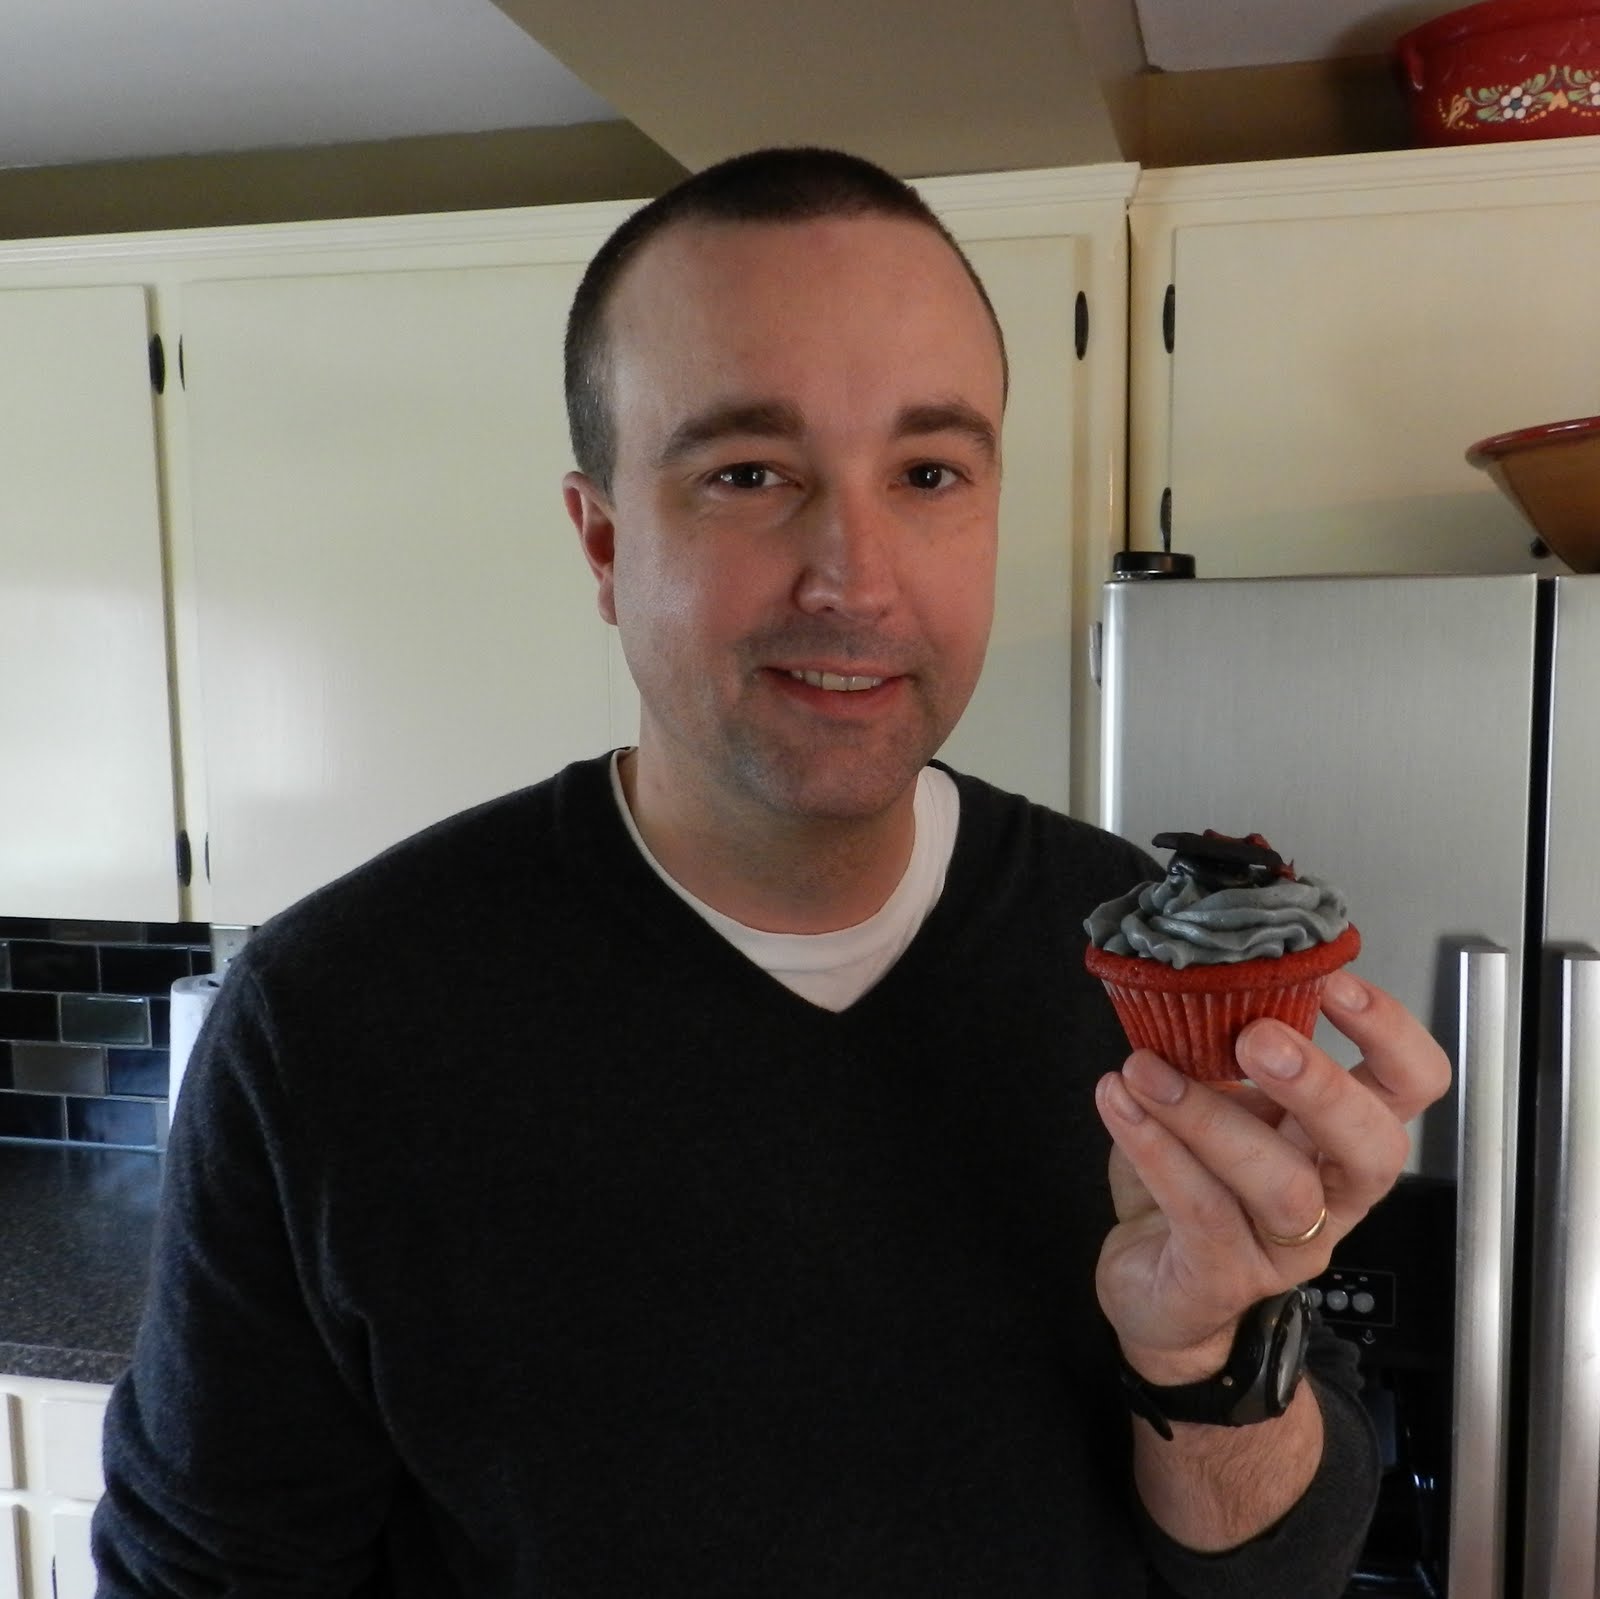
Voila!!! Not one cupcake is perfect, but they’re pretty cute, especially with the happy graduates:
Kimberly...

Megan...

And, my hubby, the Army's newest if not only Ph.D in Radio (Nuclear) Chemistry. He's great looking for such a brain!

Subscribe to:
Posts (Atom)