I know this isn’t an end-of-March dish, but March has been full of November here on the Palouse, so we’re still wallowing in winter comfort food. This is one of our favorites for a bone chilling day.
 |
| Chicken Pot Pie |
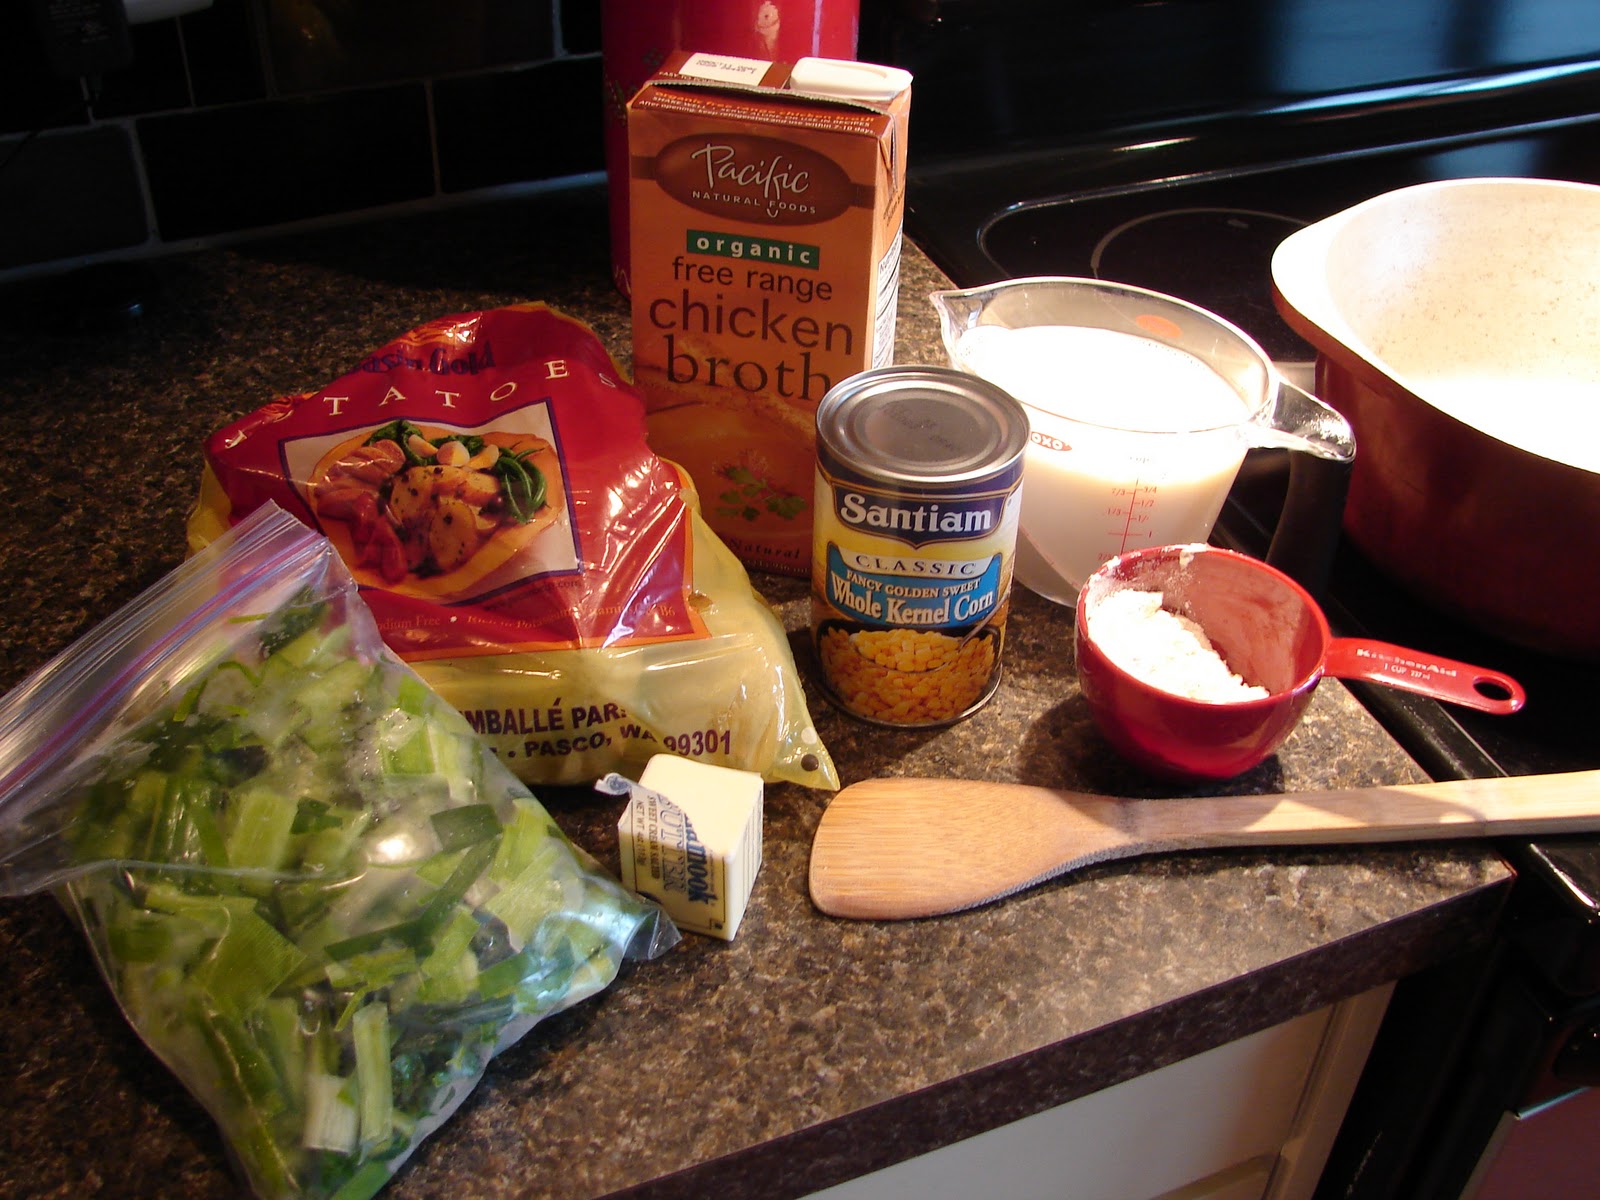
Ingredients:
Pie crust for a 2 crust pie
¼ cup butter
1/3 cup of flour
2 cups milk
Salt & Pepper
2 cups chopped cooked chicken
1 cup chopped fresh carrots
1 cup frozen peas
1 can corn - drained
I start with the carrots first because they need time to cook. They get chopped with my usual imprecision and placed in a small sauce pan with plenty of extra water to simmer on medium heat while I work on the sauce. Later: When they are tender and the sauce is nearly done I dump the frozen peas and the drained can of corn in and bring the water back to a boil for just long enough to tenderize the peas and heat the corn. If you start them all at the same time, the green and yellow will be mush by the time the orange is tender.

Next I chop the chicken. My favorite is a rotisserie chicken from the grocery store, but any chicken will do.

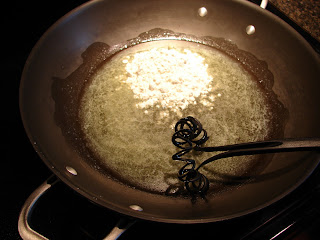
The next step is to start the sauce. See All-Purpose White Sauce AKA "Cream-of-Whatever" for instructions.
While the sauce is thickening, I start on the crust. I wish I could say I do this from scratch, but the truth is: I usually don’t. But I’m planning to get better about that.
 |
| I'm not proud of the perfectly able bodied food processor next to the Pillsbury box. |
After spreading one of the rolled out crusts in the bottom of the pie plate, it’s time for some play-dough style fun – unless there’s a child on hand. Then I maintain my dignity and let them handle the next couple of steps.
I (or the child) get out a cookie cutter and cut the dough into shapes, usually leaves. Then with the scraps that are left, we make snakes!

CAUTION: Don’t let child helpers become emotionally attached to their snakes. The next step is to chop the snakes to bits and roll the bits into balls.
 |
| Waiting on the Filling |
Those little balls turn out to be the stuff my family squabbles over when the pie is finished. After all, who doesn’t like little balls of pie crust! The trick is to keep dough lovers from eating them before they make it into the oven.
The veggies and the sauce are about done by now. Turn the oven on to pre-heat at 375 degrees.
Stir the chicken into the sauce.
Drain the vegetables thoroughly before adding them to the sauce. I let them stand and dry for 3-4 minutes in the strainer, because wet carrots and their friends can ruin the sauce you’ve worked so hard to thicken.

Bring the sauce back to steaming hot on the stove before filling the pie plate otherwise the crust will be soggy.

Arrange the fruit of your art atop the steamy filling. I like to group the little balls of goodness into threes. It looks pretty that way and it allows my children to practice skip counting while they’re making sure nobody got more than their “fair” share.

Bake at 375 degrees for 15-25 minutes until you like the look of the crust. If you like a really crispy crust you can bump the temperature up a bit.
 |
| Not Perfect - but Very Tasty! |
This one probably could have used another 5 minutes or so in the oven, but it was already about 7:00PM and the boys were circling the kitchen like piranhas. It was better to sacrifice blogging perfection than keep them waiting any longer.


